Why Is My Air Purifier Red Light Stays On After A Filter Change?
You just swapped in a fresh filter. You expected that annoying red light to disappear. Instead, it glares right back at you. Frustrating, right? You did everything correctly, yet the air purifier still acts like the old filter is inside.
Take a deep breath. This problem is far more common than you think, and it almost never means your unit is broken. In most cases, the fix takes less than two minutes.
The red light is usually a stubborn reminder that simply needs the right nudge to clear. Sometimes the filter sits slightly off. Sometimes a sensor needs a quick wipe.
In a Nutshell:
- The red light is usually a timer, not a problem. Most air purifiers track filter life with a built-in counter. Changing the filter alone does not reset this counter. You must reset it manually.
- A quick tap is rarely enough. Many people press the button once and walk away. You almost always need a long press of five to fifteen seconds, depending on your brand.
- Filter fit matters a lot. If the new filter sits crooked or the cover feels tight, the unit may not recognize the change. Reseat the filter and close the panel gently.
- Leftover packaging is a silent culprit. A bit of plastic wrap or a cardboard tab left on the filter blocks proper installation and keeps the alert active.
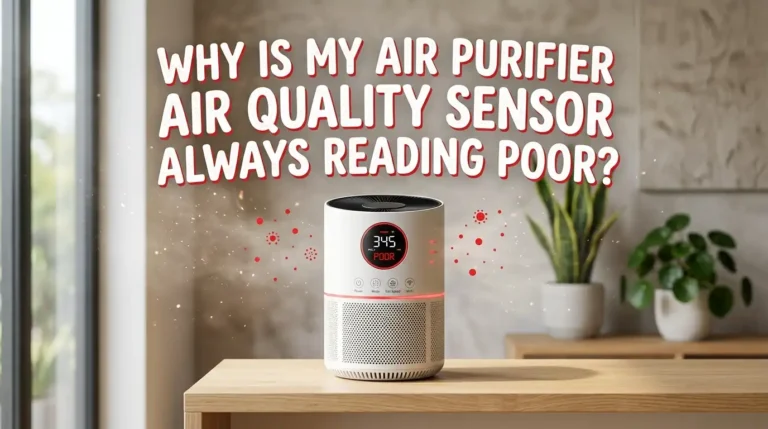
- Red can also mean dirty air, not the filter. Some models use the same red light to signal poor air quality from a dusty sensor. Cleaning the sensor often fixes a light that refuses to go green.
- Power cycling solves frozen software. Unplug the unit for thirty seconds. This clears small glitches that block the reset.
Understanding What The Red Light Actually Means
Before you fix anything, you need to know what the light is telling you. The red light on an air purifier does not always mean the same thing. On most units, it works as a filter replacement reminder.
The machine counts the hours it runs. Once it hits a set number, it turns the light red. This counter does not know you changed the filter. It only knows you have not reset it yet. On other models, the red light reports poor air quality through a built-in sensor.
A third group of units flashes red for airflow problems or WiFi issues. Knowing your light type changes your whole approach. Check your manual or the control panel labels. A filter icon points to the timer. A leaf or air symbol points to air quality. This single step saves you a lot of guessing.
Step One: Confirm The Filter Sits Correctly
Open the panel and look at how the filter rests inside. This step solves more cases than any other. A filter that sits even slightly crooked can stop the unit from recognizing the change. Pull the filter out and slide it back in firmly.
Make sure it sits flat against the housing on all sides. The arrows or labels on the filter should face the direction your manual shows. Most HEPA filters face inward, while the pre-filter faces out toward you. Close the front cover and listen for a click.
If the cover feels tighter than usual or needs two tries, the filter is likely off-center. Reopen and adjust it. A loose or angled filter also lets dust slip past, which can trigger other warnings. Getting the fit right protects both your air and your machine.
Step Two: Remove All Packaging From The New Filter
This sounds obvious, yet it trips up many people. New filters arrive wrapped in plastic, and some have extra tabs, cardboard strips, or protective film. If you leave any of this on, the filter cannot work, and the unit may keep flashing red.
Take the filter out and inspect every edge. Peel off the outer plastic bag completely. Look for small stickers, foam corners, or tape near the seams. Some carbon filters come sealed in a second inner wrapper that is easy to miss.
Run your fingers along all four sides to feel for any leftover material. Once the filter is fully bare, slide it back in. This single check often clears a red light that seemed impossible to fix. Always do this before assuming your unit has a fault.
Pros: Quick, free, and fixes airflow issues at the same time.
Cons: None, though it means opening the unit again if you missed it the first time.
Step Three: Find Your Filter Reset Button
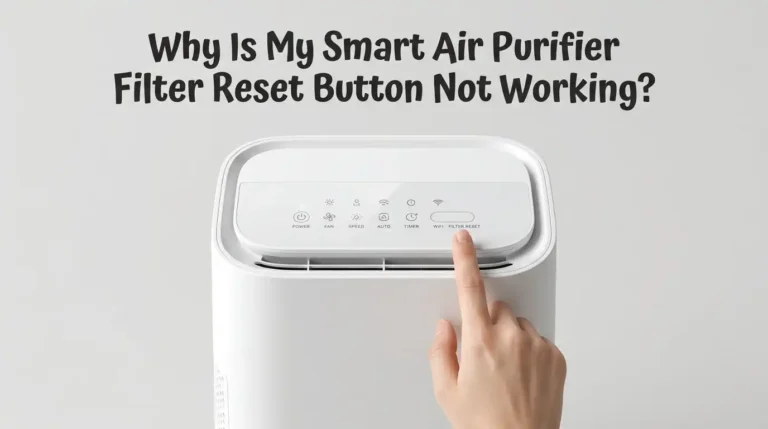
Every brand hides its reset control somewhere different. You need to locate the right button before you can clear the light. On many units, the reset is built into a filter icon button on the top panel.
On others, the maker assigns reset duty to a button labeled for a different function. For example, some Levoit models use the sleep or moon icon. Honeywell often uses the lit filter button. Blueair uses the fan speed button.
Some Sans models use the UV button. Look closely at your control panel for small printed labels. If nothing seems obvious, your manual will name the exact button.
A photo of the panel from your brand’s website also helps. Knowing the correct button stops you from pressing random ones, which can change settings you did not mean to touch.
Step Four: Press And Hold The Reset Button Correctly
Here lies the most common mistake. People tap the button once and expect magic. It rarely works that way. Most air purifiers need a firm, long press, not a quick touch. With the unit powered on, hold the reset button steadily.
Count the seconds. Many Levoit models need about two to three seconds. Coway units usually want five to seven seconds. Blueair often needs a full fifteen seconds until the lights cycle. Keep your finger down the whole time without lifting.
You will usually hear a beep or see the light blink and then turn off. If the red light blinks during the hold, you may have released too soon. Wait, then try again with a longer, steadier press. Patience during this step makes all the difference.
Pros: Works for the vast majority of cases and takes seconds.
Cons: Timing varies by brand, so you may need a couple of tries.
Step Five: Power Cycle The Unit To Clear Glitches
Sometimes the software simply freezes. Just like a phone or computer, an air purifier can hang on old data. A power cycle clears these small glitches. Unplug the unit from the wall. Wait at least thirty seconds. This pause lets the internal memory fully reset.
Plug it back in and turn it on. Then try the filter reset button again using the correct long press. Many users report the light finally clears only after this unplug-and-retry combination. This step costs you nothing and risks nothing.
It also helps when the reset button seems unresponsive or when the unit ignores your presses. Treat the power cycle as your reliable backup whenever the normal reset refuses to cooperate. It often succeeds where button presses alone fail.
Pros: Fixes frozen software and unresponsive buttons easily.
Cons: You lose any custom settings like timers or fan presets, so you may need to set them again.
Step Six: Clean The Air Quality Sensor
If your red light reports air quality rather than filter life, a fresh filter will not help. A dirty sensor reads clean air as polluted air and stays red. The sensor sits behind a small cover, often on the side of the unit.
Turn off and unplug the purifier first. Open the sensor cover. You will see a tiny lens and a small opening. Gently wipe the lens with a dry cotton swab. Brush away any dust around the opening. Avoid water or cleaning sprays, since moisture can damage the sensor.
Close the cover and power the unit back on. Give it an hour to read the air again. The light should shift from red to blue or green as it senses cleaner air. A clean sensor reports honest readings and stops false alarms.
Pros: Solves persistent red lights that resets cannot fix.
Cons: Requires care, since the sensor is delicate and easy to damage.
Step Seven: Clean The Pre-Filter And Air Intake
Blocked airflow can keep a warning light on even after a filter swap. Large particles like hair, lint, and dust clog the intake over time. The pre-filter catches these before they reach the main filter. Remove the pre-filter and check it.
Vacuum off light buildup with a soft attachment. For heavier grime, wash it with warm water and mild soap. Let it dry completely before you put it back, since a damp filter breeds mold. While you wait, wipe down the intake grill and the internal fan with a dry brush or cloth.
Clear vents let air move freely, which keeps the unit happy and quiet. Aim to clean the pre-filter every two weeks. Regular cleaning prevents the kind of airflow drop that triggers warning lights between full filter changes.
Pros: Improves airflow, extends filter life, and reduces false warnings.
Cons: Takes time, and the pre-filter must dry fully before reuse.
Step Eight: Check If You Used The Right Filter
Not every filter fits every model perfectly. A wrong or off-brand filter can fit loosely and keep the unit confused. This does not mean compatible filters are always bad. It simply means fit becomes more important with them.
Match the filter number to your exact model. Check the dimensions against the old filter side by side. If the new one feels thinner, thicker, or a different shape, the cover may not seat right. A filter that sits even slightly differently can make the red light return immediately.
When the warning comes back at startup rather than after hours of running, suspect a fit or recognition issue. Using the filter your maker recommends gives the cleanest fit and the most reliable reset. The right part removes a lot of guesswork.
Pros: Guarantees correct fit and proper sensor recognition.
Cons: Brand-matched filters sometimes cost more than alternatives.
Step Nine: Watch When The Light Returns
Timing gives you powerful clues. Pay attention to exactly when the red light comes back. If it returns the moment you power on, the cause points to a reset issue or a filter that sits wrong.
An immediate return rarely means a real airflow problem. If the light only comes back after the unit runs for several hours or days, the cause is different. That pattern suggests genuine filter use or an air quality reading. This single observation narrows your search fast.
Note the timing before you try more fixes. It tells you whether to focus on the reset and fit, or on the sensor and air quality. Many people skip this step and waste time chasing the wrong cause. A few seconds of attention here saves you real frustration.
Step Ten: Adjust Sensor Sensitivity If Needed
Some smart purifiers let you tune how touchy the sensor is. If your unit shows red even in clean rooms, the sensor may be set too sensitive. Many WiFi models offer three levels through their companion app.
Open your purifier’s app and find the device settings. Look for a smart mode or sensitivity option. You will usually see choices like sensitive, normal, and insensitive. Switch to a less sensitive setting if the light stays red without a clear reason.
This stops the unit from reacting to tiny, harmless particles. For models without WiFi, check your manual, since many allow a manual sensitivity change through a button combination.
Adjusting this setting brings the readings in line with reality. It is a smart move for homes with cooking fumes or pets that constantly trip an overeager sensor.
Pros: Stops false red alerts in normal conditions.
Cons: Setting it too low may hide real pollution spikes.
Step Eleven: Inspect For Dust Trapped Behind The Filter
A red light that keeps returning may point to dust slipping past the filter. Check the space behind and around the filter slot. If you see a layer of dust inside the housing, particles are getting through. This usually means the filter is not sealing tightly.
A poor seal lets dirty air bypass the filter entirely, which strains the unit and can trigger warnings. Wipe out any dust you find with a dry cloth. Then reseat the filter and confirm it presses flat against the seal on every side. Look for gaps along the edges where light or air could pass.
A clean, well-sealed housing keeps the air path correct. This check also protects your indoor air, since bypassed dust defeats the whole purpose of the machine. Take a minute to confirm a snug, dust-free fit.
Step Twelve: Know When To Contact Support
Most red light problems clear with the steps above. Still, a small number need real help. If you have reseated the filter, removed all packaging, done a long reset press, power cycled the unit, and cleaned the sensor, yet the light stays on, the issue may be hardware.
A failed sensor or a stuck circuit can keep the light lit no matter what you do. At this point, stop pressing buttons repeatedly, since that rarely helps and can confuse the unit further. Gather your model number and note every step you already tried.
Contact the maker’s support team directly. Many units carry a warranty that covers sensor and board faults. Describe the exact behavior, including when the light returns. Clear notes help support solve your case faster. Knowing when to hand it off saves you hours of trial and error.
How To Prevent The Red Light From Coming Back
A little routine keeps this problem from returning. Good habits make filter changes smooth every single time. Always reset the timer right after you install a new filter. Do not wait, since it is easy to forget later.
Keep a simple note or phone reminder of your reset button and hold time. Clean the pre-filter every two weeks and the sensor every couple of months.
Remove all packaging from new filters before they ever go in. Buy the correct filter for your model so the fit stays perfect. Run your unit in a spot with good airflow, away from walls that block the intake.
Power cycle the machine occasionally to keep its software fresh. These small steps cost almost no time. Together they keep your air clean and that red light off where it belongs.
Frequently Asked Questions
Does changing the filter automatically turn off the red light?
No, it usually does not. Most air purifiers track filter life with a timer that you must reset by hand. The unit cannot detect a new filter on its own. You need to press and hold the reset button after installing the fresh filter to clear the warning.
How long should I hold the reset button?
It depends on your brand. Some models clear in two to three seconds, while others need up to fifteen seconds. Hold the button steadily without lifting your finger until you hear a beep or see the light turn off. If it blinks, you likely released too early, so try again.
Why is the light still red after I reset it?
Several reasons are possible. The filter may sit crooked, packaging may still be attached, or the sensor may be dirty. Reseat the filter, remove all wrapping, and clean the sensor with a dry cotton swab. A power cycle by unplugging for thirty seconds often clears stubborn cases too.
Can a dirty sensor cause a permanent red light?
Yes, it can. Dust on the air quality sensor makes the unit read clean air as polluted, so it stays red. Unplug the unit, open the sensor cover, and gently brush the lens with a dry swab. Avoid water. Give it an hour afterward to read the air correctly.
Is it safe to keep using the purifier with the red light on?
In most cases, yes. The light is usually a reminder rather than a danger signal. The unit still cleans your air. Still, you should fix the cause soon, since a true filter or airflow issue can reduce performance over time. Address it once you have a few free minutes.
Will unplugging the unit reset all my settings?
It can. A power cycle may clear custom timers, fan presets, or schedules on some models. You may need to set these again after plugging it back in. The trade-off is worth it, since unplugging often fixes a frozen reset that nothing else will clear.

I’m Maya Brown, the voice behind Pure Breeze Vault. I write detailed, honest, and easy-to-follow air purifier reviews to help readers compare features, understand filter technologies, and choose products with confidence. My goal is to make research simpler, clearer, and more practical for anyone improving indoor air quality at home.