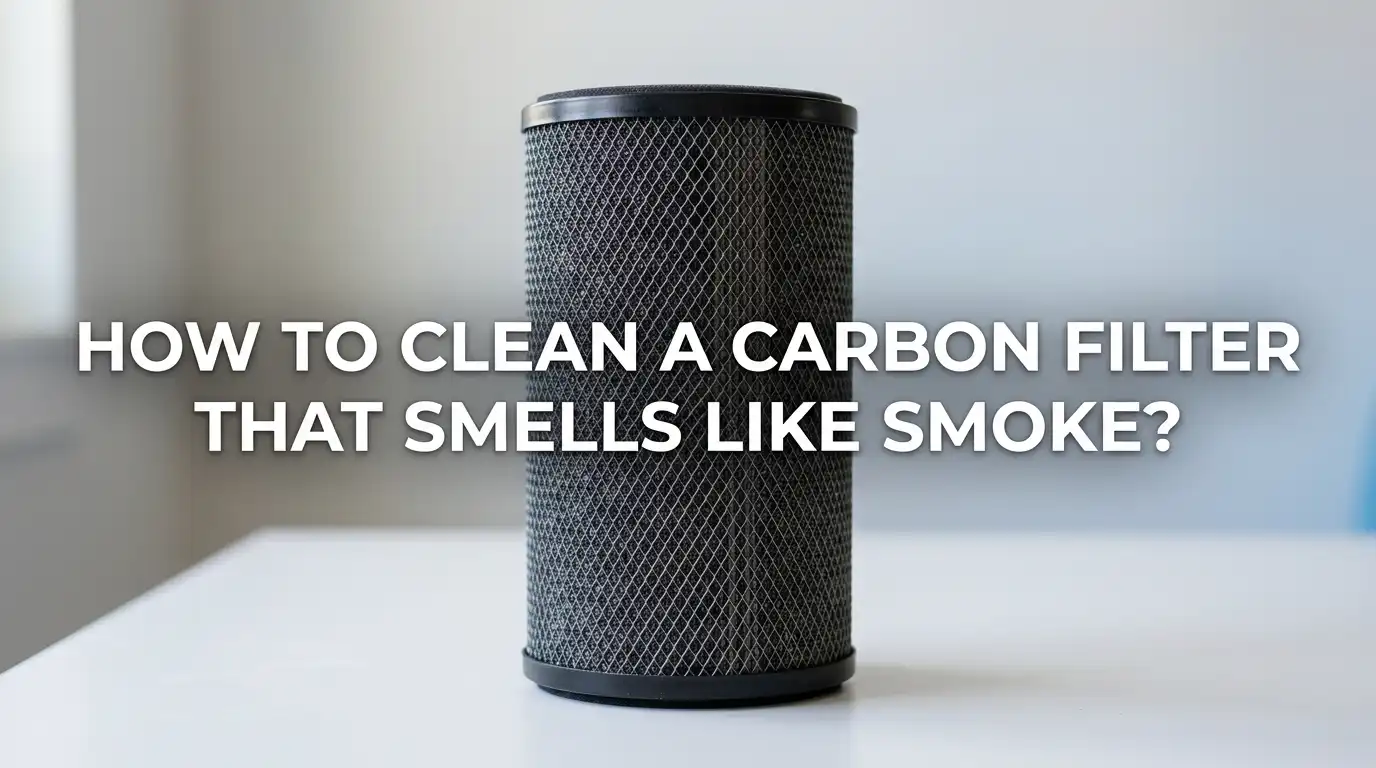
How To Clean A Carbon Filter That Smells Like Smoke?
Does your carbon filter still smell like smoke even after running for hours? You are not alone. Many people face this frustrating problem at home, in kitchens, grow rooms, and air purifiers. A smoky filter means it has trapped too many odor particles, and it cannot pull in fresh air anymore.
The good news is that you can fix this without spending much money. With a few simple tools and the right method, you can refresh your carbon filter and bring clean air back into your space.
This guide walks you through every step, shares pros and cons of each method, and helps you decide when to clean and when to replace. Keep reading to save your filter and your nose.
In a Nutshell
- Carbon filters trap smoke through tiny pores in activated charcoal. Once these pores fill up, the filter releases old smells instead of absorbing new ones. Cleaning helps only when the carbon is not fully saturated.
- Vacuuming and brushing the outer surface is the safest first step. This removes dust, ash, and loose particles that block airflow. It works well for light smoke smells but not for deep odors.
- Sun drying for several hours can refresh a mildly used filter. UV rays and heat help release some trapped gases, but this method has limits and works best in dry climates.
- Baking the carbon at low oven heat can extend filter life. Home ovens cannot fully reactivate carbon like factories do, but they can burn off light smoke residue.
- Replacement is the only true fix for a fully saturated filter. If your filter is over 12 months old or smells strongly even after cleaning, it is time for a new one.
- Prevention beats cleaning. Use a prefilter, ventilate the room, and run the unit on lower speeds to extend the filter life.
Why Your Carbon Filter Smells Like Smoke
A carbon filter uses activated charcoal to trap odor molecules. Each tiny pore in the carbon grabs smoke particles like a sponge. Over time, these pores fill up and the filter loses its power.
When the filter reaches its limit, it can release some of the trapped smell back into the room. This is called breakthrough. You will notice a stale smoky odor every time the fan runs.
Heat, humidity, and heavy smoke exposure speed up this process. Cooking smoke, cigarette smoke, and wildfire smoke each carry oily compounds that stick to carbon faster than normal household smells.
Signs Your Carbon Filter Needs Cleaning
The first sign is an obvious one. The filter smells like old smoke even when it is turned off. That stale, ashy scent means trapped odors are leaking out.
You may also notice weaker airflow from your air purifier or range hood. Dust and ash clog the outer mesh, and the fan has to work harder. The unit may also feel warmer than usual.
Another sign is lingering cooking or cigarette smells in the room. If the filter cannot clear the air within an hour, its absorbing power is fading. Pet owners often notice this first because pet dander mixes with smoke for a stronger odor.
Check the filter color too. A fresh carbon filter looks black, while an old one may appear gray or coated with sticky residue.
Tools You Need Before Starting
Gather your tools before you begin. This makes the job faster and safer. You will need a soft bristle brush, a vacuum cleaner with a brush attachment, and a pair of rubber gloves.
Also grab a dust mask or N95 respirator. Dry carbon dust is not toxic, but breathing it in can irritate your lungs. Safety glasses also help.
Keep a clean dry cloth, a baking tray, and aluminum foil nearby if you plan to bake the carbon. For sun drying, you need a flat tray and a sunny outdoor spot.
Avoid soap, bleach, or strong cleaners. Water and chemicals destroy the activated carbon’s pore structure. Once the pores collapse, the filter cannot absorb smoke anymore, no matter what you do.
Step One: Remove the Filter Safely
Always turn off and unplug the device first. Wait for the fan to stop completely. This prevents electrical accidents and stops loose dust from flying around.
Take the filter outside or to a garage. Cleaning indoors will spread the trapped smoke smell into your living space. A well ventilated outdoor area is the best workspace.
Hold the filter by the metal frame, not the carbon mesh. Pressing the soft material can dislodge carbon granules. Carry it gently and place it on a flat surface.
Pros of this step include safety and cleaner indoor air. The only con is the need for outdoor space. If you live in an apartment, a balcony or open window will do.
Step Two: Vacuum the Outer Surface
Attach a soft brush head to your vacuum. Use the lowest suction setting. High suction can tear the mesh or pull carbon granules out of place.
Move the vacuum slowly across the surface. Cover every inch of the filter, including the edges and corners. You will see ash, dust, and lint disappear into the vacuum. This step alone can reduce mild smoke smells by a noticeable amount.
Pros: This is the fastest method and needs no special tools. It works on cylindrical grow room filters and flat HVAC filters alike.
Cons: Vacuuming removes only surface dust. It cannot pull smoke molecules out of the deep carbon pores. Heavy smoke smells will still remain after this step.
Step Three: Brush Off Stuck Debris
After vacuuming, use a soft bristle brush to loosen any stuck particles. Sticky tar from cigarette smoke or cooking grease often clings to the mesh. Gentle brushing breaks up this layer so air can pass freely again.
Move the brush in one direction. Do not scrub back and forth, as this can damage the fibers. A clean paint brush or a soft toothbrush works perfectly.
Vacuum the filter again after brushing. This picks up the debris you just loosened. Repeat the cycle two or three times for a deep surface clean.
Pros include better airflow and a fresher look. Cons are minor: it takes time, and stubborn grease may not come off without harsher methods that you should avoid.
Step Four: Try the Sun Drying Method
Sunlight is a natural refresher for activated carbon. UV rays and heat help release some of the lighter trapped gases. Place the filter on a clean tray in direct sunlight for six to eight hours.
Flip the filter every two hours so all sides get exposure. Choose a dry, breezy day for best results. Humidity slows the process and may even cause mold growth inside the carbon.
Pros: This method is free, easy, and chemical free. It works well for mildly used filters that smell of light cooking smoke or stale air.
Cons: Sun drying does not reach the high temperatures needed to fully refresh carbon. It works as a light refresh, not a deep clean. Cloudy days and winter weather make it nearly useless.
Step Five: Use Low Heat Oven Baking
Some users bake their carbon to burn off trapped smoke. Spread the carbon granules on a foil lined baking tray. Set your oven to around 200 degrees Fahrenheit. Bake for two hours.
This method works only if your filter has loose, refillable carbon. Sealed filters cannot be opened safely. Never use high oven heat, as this can cause smoke or fire from the trapped oils inside the carbon.
Pros: Low heat baking removes more odor than sun drying. It can extend the life of a refillable filter by a few weeks or months.
Cons: Home ovens cannot reach the 800 degree Celsius temperatures used in factories. True reactivation is not possible at home. The kitchen may also smell smoky during baking.
Step Six: Reassemble and Test the Filter
After cleaning, let the filter sit for an hour to cool and air out. Check for any loose carbon granules and tap them gently back into place. Inspect the mesh for tears.
Slide the filter back into the unit. Make sure it sits snugly with no gaps. Air leaks around the filter let smoke bypass the carbon completely.
Turn the device on at the highest setting. Run it for thirty minutes in a closed room. Smell the air near the output vent. Fresh, neutral air means the cleaning worked. A lingering smoke smell means the carbon is too saturated to save.
This testing step saves you from guessing. It tells you clearly whether to keep using the filter or buy a new one.
When to Replace Instead of Clean
Cleaning helps, but it cannot save every filter. Carbon filters have a limited life of six to twelve months in normal use. Heavy smoke exposure cuts that life in half.
Replace the filter if you notice strong smoke smells even after a full cleaning. Other warning signs include visible grease coating, broken mesh, or crumbling carbon. A wet or moldy filter must also go straight to the trash.
Pros of replacement: instant fresh air, full odor protection, and stronger airflow. Your air purifier or range hood will feel like new again.
Cons: cost and waste. A new carbon filter can cost anywhere from 15 to 80 dollars. Recycle the old one if your local center accepts charcoal materials, since this reduces landfill waste.
Prevent Future Smoke Buildup in Your Filter
Prevention is easier than cleaning. Use a prefilter in front of the carbon filter. This catches dust, lint, and large smoke particles before they reach the carbon. Prefilters are cheap and easy to wash.
Open windows during and after cooking or smoking. Cross ventilation pushes smoke outside instead of letting it cycle through your filter again and again.
Run your air purifier on a medium speed most of the time. High speed for long hours wears out the carbon faster. Keep the unit away from corners, since trapped air reduces its efficiency.
Schedule a quick monthly check. Vacuum the outer mesh, look for damage, and note the install date on a sticker. Small habits double the life of any carbon filter.
Common Mistakes to Avoid
The biggest mistake is washing the filter with water. Water flattens the carbon pores and ruins the filter permanently. Even a quick rinse can destroy weeks of absorbing power.
Another error is using soap or vinegar. These chemicals leave residue inside the carbon that mixes with smoke for a worse smell. Stick to dry cleaning methods only.
Some people try to dry a wet filter in the microwave. This is dangerous. Carbon can spark or catch fire in a microwave. Always use sunlight or low oven heat, never microwaves.
Finally, do not skip the safety gear. Carbon dust can irritate your eyes, nose, and lungs. A simple mask and gloves protect you during every step of the cleaning process.
Frequently Asked Questions
How often should I clean my carbon filter?
Clean the outer surface every one to two months. Deep refresh methods like sun drying work best every three to four months. Replace the filter once a year, or sooner if you cook with heavy smoke or smoke indoors.
Can I wash a carbon filter with water?
No. Water destroys activated carbon by collapsing its tiny pores. Once wet, the filter cannot absorb smoke or odors anymore. Always use dry methods like vacuuming, brushing, sun drying, or low heat baking.
Does baking soda help clean a carbon filter?
Baking soda can absorb some smells in your room, but do not apply it directly to a carbon filter. The powder clogs the carbon pores and reduces airflow. Place an open box of baking soda near the unit instead.
Why does my new carbon filter still smell like smoke?
This usually means smoke has soaked into the walls, furniture, or fabrics of the room. The filter cleans the air, but the surfaces keep releasing smoke. Wipe walls, wash curtains, and shampoo carpets to remove the source.
Can I use vinegar to clean my carbon filter?
No. Vinegar is acidic and reacts with the carbon. It leaves a sour smell that mixes badly with smoke odors. Vinegar also adds moisture, which damages the filter the same way plain water does.
How long does a carbon filter last in a smoker’s home?
In a home with daily smoking, a carbon filter lasts about three to six months. Heavy smoke saturates the carbon quickly. Regular surface cleaning helps, but replacement is the only real fix once the carbon is full.
Can I make my own carbon filter at home?
Yes, you can build a basic one with activated charcoal granules, a mesh bag, and a fan. Homemade filters work for light odors but cannot match commercial units for heavy smoke. Always buy food grade or air filter grade carbon, not BBQ charcoal.

I’m Maya Brown, the voice behind Pure Breeze Vault. I write detailed, honest, and easy-to-follow air purifier reviews to help readers compare features, understand filter technologies, and choose products with confidence. My goal is to make research simpler, clearer, and more practical for anyone improving indoor air quality at home.